Save Time: Get 5 Simple Writing Tips
you can put to use in 10 minutes
5 Steps in the Writing Process: Jumpstart Your Writing Quickly
Award-winning writer Kathy Widenhouse has helped hundreds of nonprofits and writers produce successful content , with 750K+ views for her writing tutorials. She is the author of 9 books. See more of Kathy’s content here.
Updated 4.25.25
Understanding the writing process is a key to writing faster and better. And we all want that!
It’s true that mystery cloaks the creative element of putting words on paper. But I’m all about making content writing simple.
Creativity, I’ve discovered, is rarely conjured up. And if you wait for creativity to strike, you may never complete a project. What happens most often is that creativity “appears” along the way while I’m at the work of writing.
So it came as a relief to me to learn that there is a process you can follow to do the “work” of writing. It’s a process that follows practical steps. The steps create a structure and make a big project seem manageable. I can complete one step at a time and then soon, I have completed a piece of content.
Breaking down the writing process into a series of steps has been a BIG help to me. This step-by-step approach works for just about any piece of content.
And creativity springs up along the way as I take the steps.
First, a bit of pre-writing
You have an idea for a writing project. Before you write one word, ask yourself this question: “What do I want this piece of content to accomplish?”
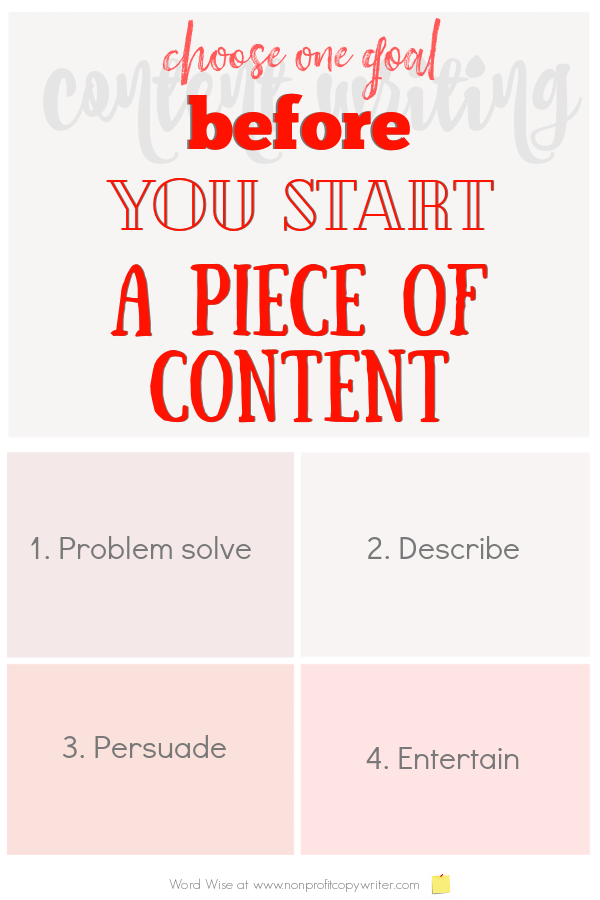
Whether you’re writing a short blog post or a feature article series or a full-blown book, your content will fall into at least one of these four camps:
- I want to help my reader solve a problem or give him a piece of information.
- I want to describe a person, place, thing, or idea to my reader to give him a sensory experience.
- I want to persuade my reader to embrace a point of view.
- I want to entertain my reader.
To help things along, you can:
- Brainstorm
- Narrow your topic
- Research a bit more
- Identify your audience
But above all, decide your project’s purpose. Decide what you want it to accomplish for your reader – educate, describe, persuade, or entertain. Then you can take …
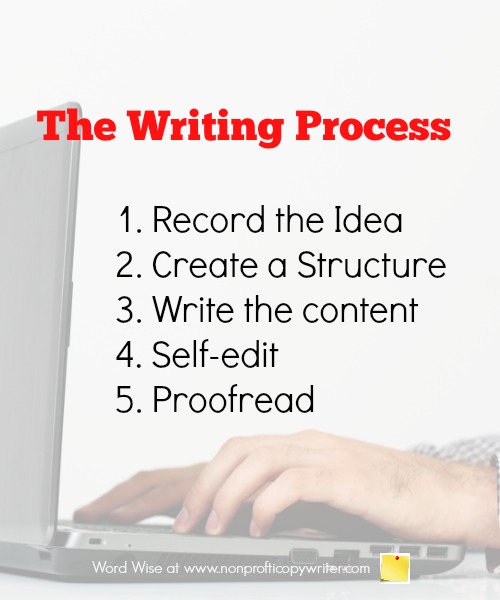
The 5 steps in the writing process
This step-by-step approach is one way to go about the writing process, but it’s not the only way. If this approach works for you, great! If not, go with another method.
Step #1: Record your content idea
You have an idea for a project (or you’re assigned one) – a blog post, article, letter, web page, a devotional, even a grant application or a book.
How do you get from idea to finished project? The prospect can be completely overwhelming. And it is at this point that you may be tempted, like many writers, to stare at the blinking cursor on the screen with uncertainty or even abject terror.
Try this:
- Write down the idea for your project. (Make sure you have a system in place for capturing ideas.) You may need to write down more than one idea and choose one.
- Write down where your reader will start with the idea. (Let’s call this Point A.) Then leave a large space.
- Write down what you want your reader to understand about the idea after she reads your project. (Call this Point Z.)
- Write down the points you'll make to your reader to get her from Point A to Point Z. You can use bullets if you prefer. Your goal is to help you get from your premise to your conclusion and include all your points. (More tips for getting started with a project idea.)
Step #2: Organize your content
Review your list of ideas and look for patterns. For instance:
- Sequence: your points can be organized chronologically or in a specific order
- List: your points can be organized topically
- Simple to Complex: your points can be organized to lead to a conclusion
- Whole to Parts: start with a summary and explain each element
- Comparison: your points can be organized to be compared or contrasted
- Cause and Effect: your points can be organized to show how they connect to each other
Organize your points into the structure you have chosen. Yes, you can call this an outline if you like! Or not.
It’s at this point you may discover that you need more information to flesh out your points. No worries! Simply undertake what official-sounding people call “research.” For writers, that’s an open door to head off onto a rabbit trail and uncover all kinds of luscious new information about your topic.
A word of warning: don’t take forever about it. By all means, gather facts, statistics, quotes, and anecdotes that you need. You can even use ChatGPT or another AI tool to do so.
But you can’t be a hunter-gatherer indefinitely. And once you start writing, you can always come back to this step if you need to.
Finish your writing projects - use this personalized writing goal planner.
Step #3: Write your content draft
Don’t panic …it’s just a draft. “Rough” and “messy” are its middle names.
It’s at this juncture that many writers freeze up. And with good reason. They haven’t put in the effort required by pre-writing. You know – all the time you just spent drilling down your idea, listing the points you need to make so that your reader is convinced that your idea is sound … the research to support those points. Your content is already half-written!
But you’ve got a main idea. You’ve got information. You’ve got a structure. Now, simply use the information you’ve gathered for each point to fill in each part of the structure.
Give yourself even more of a leg up with these writing tips:
- If the idea of “filling in” the whole piece makes you quake at your keyboard, then work on just one section of the structure – and then another. Do a bit at a time until all the sections are done.
- Don’t edit yourself as you write each section. Just get the content out of your head and onto the screen.
- Discard ideas that don’t fit in well, but keep them in a separate file to use in another project.
- Read through your project and make sure you’ve covered each point. If you need to research a bit more to flesh out an idea, now is the time.
- Review your opening. As in, have you written a hook? If not, add a provocative question, fascinating fact, or inspiring story to capture the reader’s attention right from the get go.
- Check your conclusion. Does it give your reader a special knockout punch, a final additional point, a twist, a surprise? You want to make sure your content is worth the time and effort your reader invests in it … and that he’ll have something to take away with him when he’s done.
Congratulations. You now have a rough draft!
Step #4: Edit your content
A rough draft is raw material. Editing shapes that material into a final product. Your content may require more than a swipe or two to whip it into shape – hence the principle, “Good writing is rewriting.”
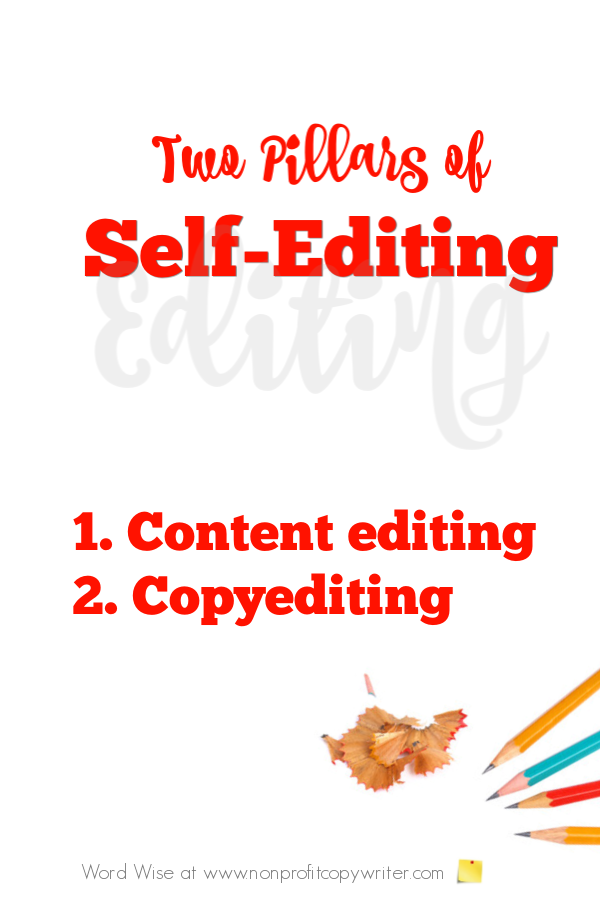
But I’m all about making writing simple, which is why I use the Two Pillars of Editing as I review and reshape my work.
Edit the content: critique and refine how you handle your topic.
- In the first paragraph, can the reader identify the problem you will solve?
- Does the piece move logically from Point A to Point Z? I spend plenty of editing time reworking content order. Figure out if you can improve the content flow. Your goal is to make the content point to your main point.
- Add or remove sections to strengthen your message.
- Is the content interesting and engaging? Each point should have examples, stories, interesting facts, or quotations to illustrate it. Have you fact checked, quoted accurately, and cited your sources?
Edit the mechanics: rework and refine your writing so that it is correct, easy to read, and clean.
- Look for missing words, repetition, awkward construction, passive voice, subject-verb agreement, misplaced modifiers, incorrect homonyms, verb tenses, and splint infinitives.
- Adjust awkward construction.
- Vary sentence lengths.
- Replace jargon with laymen’s terms.
- Look for misplaced modifieds … passive construction … split infinitives …readability levels above grade 8.5 …run-on sentences … fragments … formatting errors.
- Study and correct the content to make sure there is a mixture of short and long sentences. Edit sentences so they start and end with different words.
- Run grammar and spelling checks.
(See more tips for self-editing.)
Step #5: Proofread your content
- Leave your project for a time – whether for several hours, days, or a week. Then re-read it carefully.
- Use your word processor’s spelling and grammar functions. Correct typos.
- Double check formatting so it adheres to guidelines of the designated publication and so it’s consistent throughout the piece.
- Read it aloud. Read it slowly and make adjustments. You’ll know you’re “done” when your project reads like a “greased slide,” without bumps or tongue twisters, smoothly from beginning to end.
Bonus step: Publish your content
It’s time to share your content with the world! That can mean …
- Turn in your writing assignment to your instructor.
- Print your content to share with your writing group.
- Submit your content to an editor or publisher.
- Post your content online, whether it’s on your own site or on social media.
- Publish your book on Kindle Direct Publishing.
Yet no matter how you publish your content, this is a moment to celebrate. You created a piece of content from start to finish. Give yourself a pat on the back. Enjoy this moment!
Then hit your Pre-Writing button once again. And get going on your next masterpiece.
More Tips about The Writing Process
Create a Step-By-Step Writing Plan to Achieve Your Writing Goals ...
My Sanity-Saving Research Tip for Writers ...
Planner or Pantser? Make 3 Steps in the Writing Process Work for You ...
Use "The Power of One Principle" to Write More Memorable Content ...
7 Brainstorming Techniques for Writers ...
How To Write Faster: Use Bursts AND Binges ...
Avoid Panic: A Practical Way to Estimate Writing Time for a Project ...
Beat Writer's Procrastination with a Simple Flip ...
3 Tips for Starting Your Writing Project ...
How to Set and Achieve a Writing Goal ...
Capturing ideas for writing projects: a system is the solution ...
How to find the main idea of your piece before you write ...
4 Writing Styles: When to Use Each One ...
How to Write a Thesis Statement ...
How to write an outline for your article or blog post ...
6 outline formats: different ways to organize your content ...
How to Write an Introduction (or Lead, Lede, Hook) ...
Tips for Writing a Hook for Your Article or Blog Post ...
Basic Copywriting: What It Is and Why You Need It ...
Pre-Writing: 4 Easy Steps to Make Your Writing Go Faster ...
Tips about the Writing Process on our Pinterest board ...
Return from The Writing Process to Nonprofit Copywriter home
As an Amazon Associate I earn from qualifying purchases.
Share This Page

Named to 2022 Writer's Digest list
BEST GENRE/NICHE WRITING WEBSITE

Stop Wasting Time!
Grab your exclusive FREE guide, "5 Simple Writing Tips You Can Put to Use in 10 Minutes or Less"


