Save Time: Get 5 Simple Writing Tips
you can put to use in 10 minutes
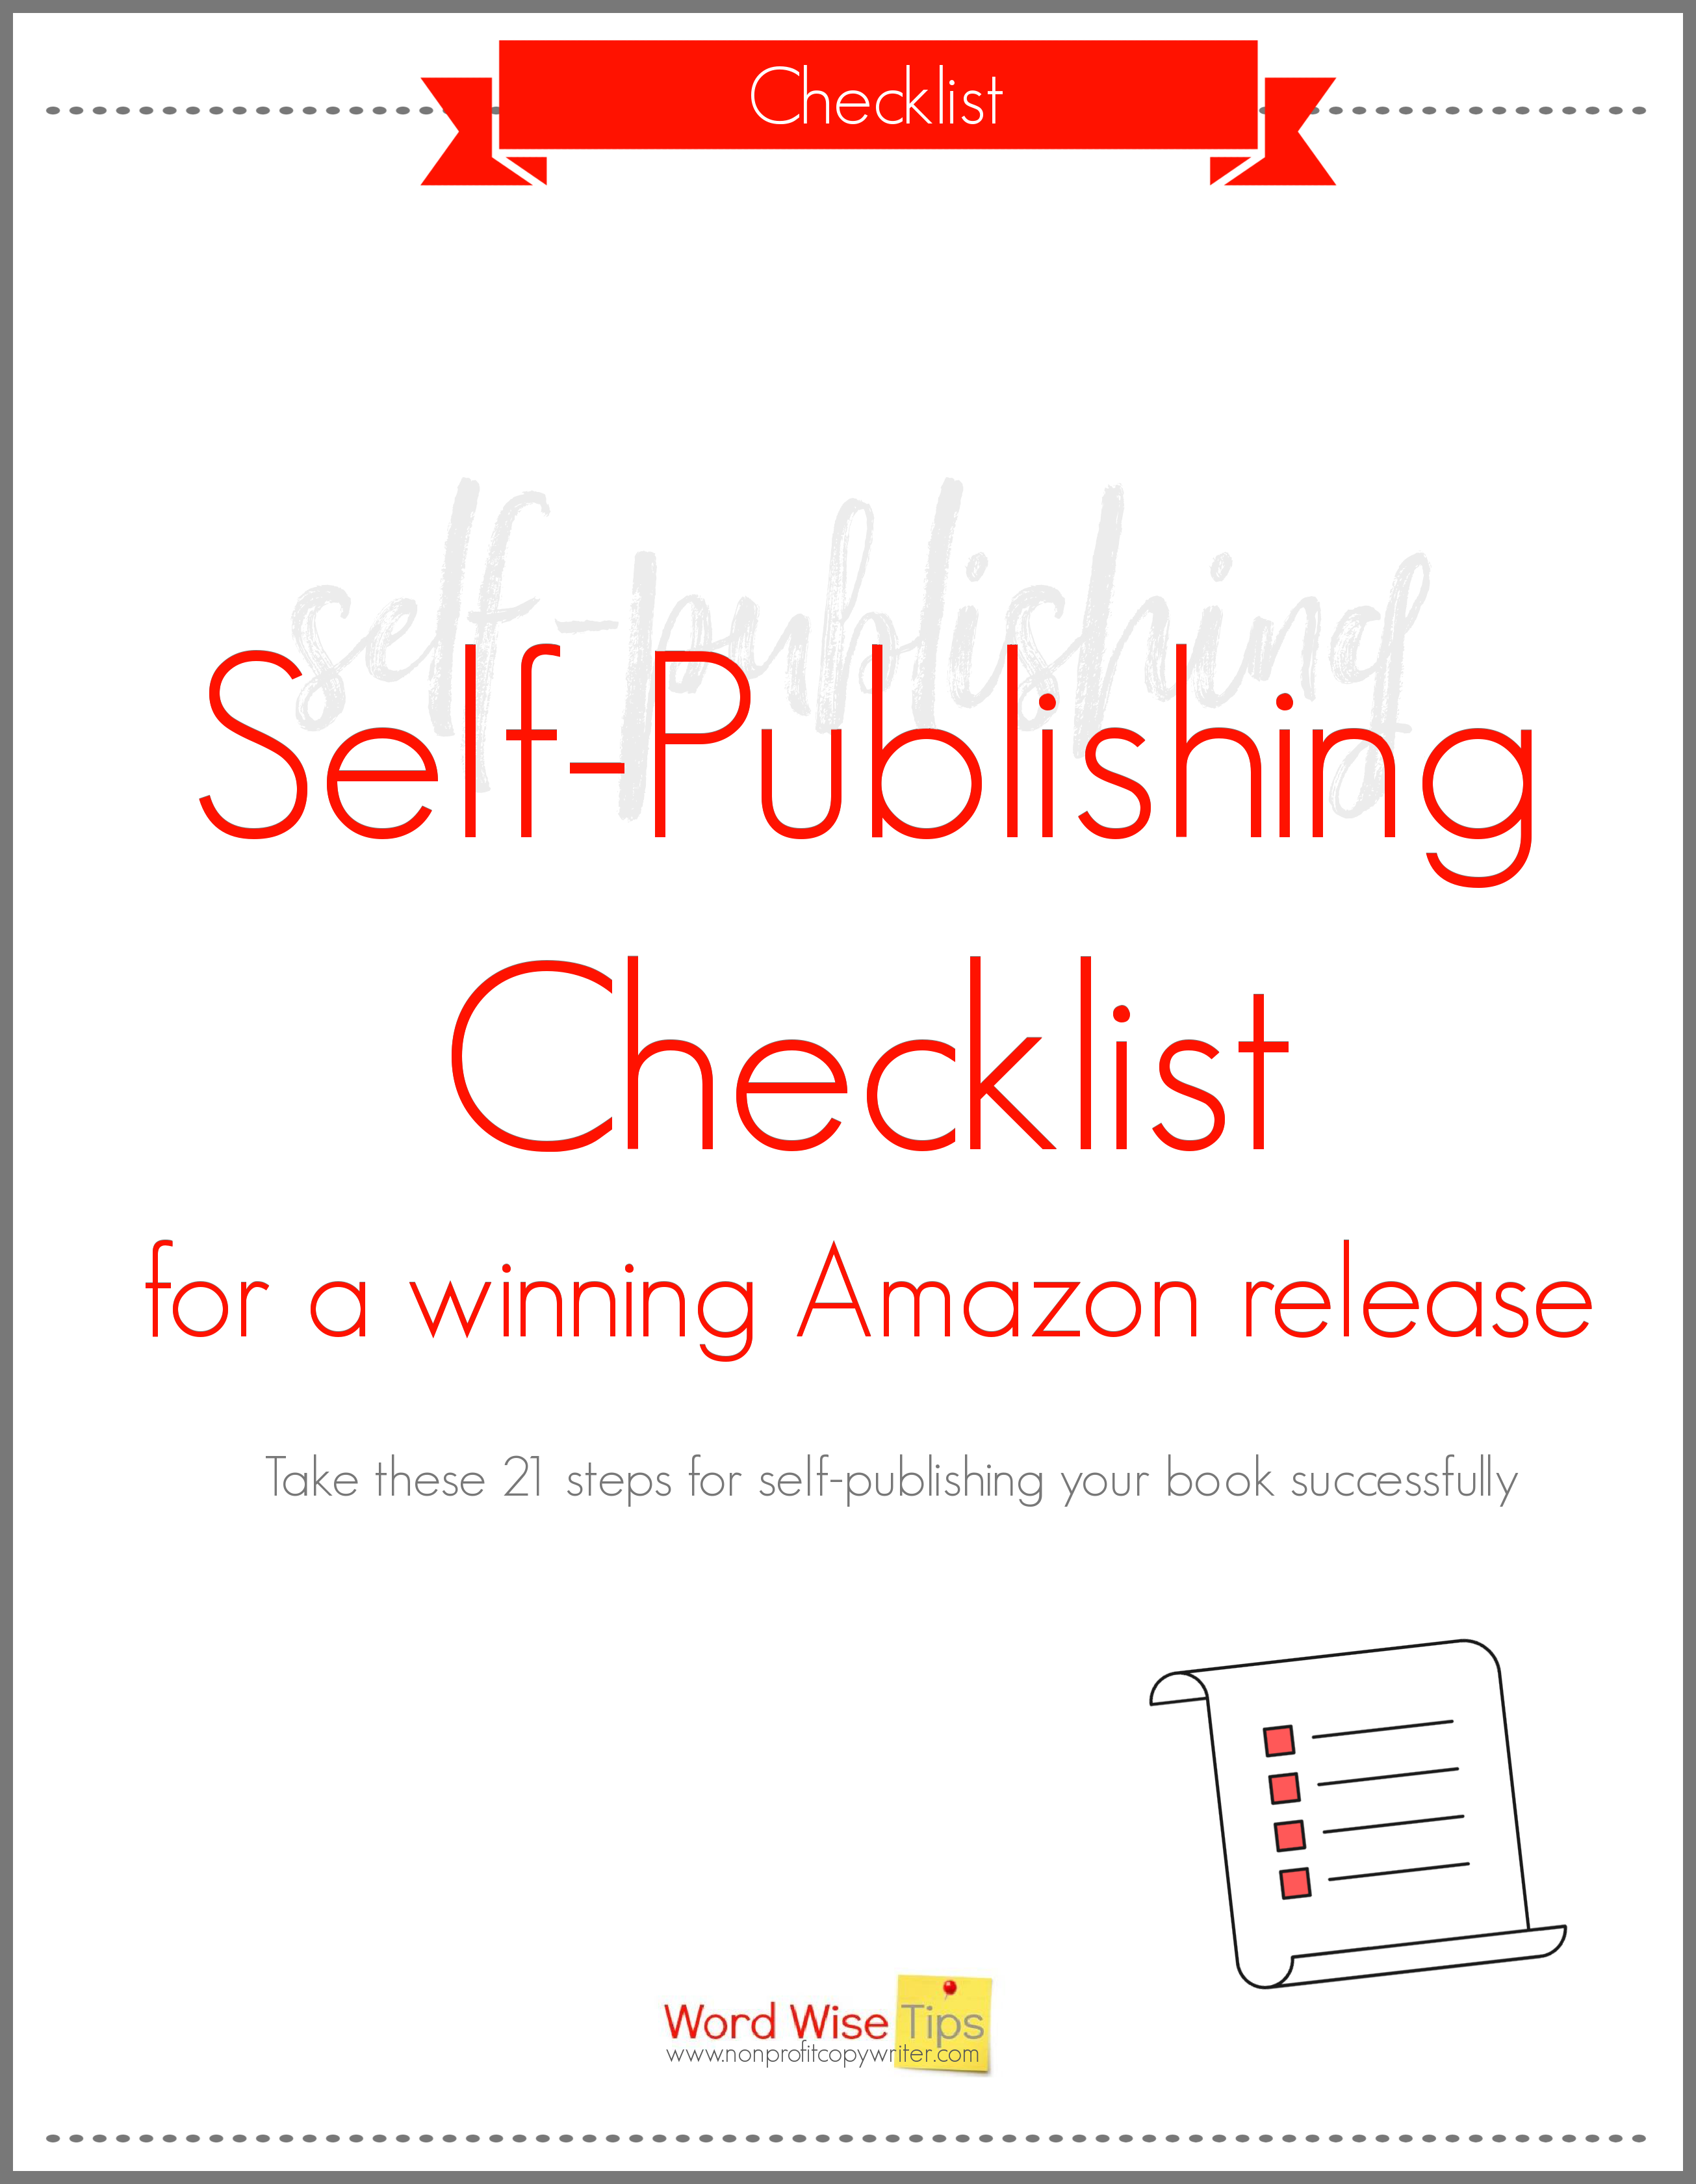
21-Point Self-Publishing Checklist for a Winning Amazon
Release
Award-winning writer Kathy Widenhouse has helped hundreds of nonprofits and writers produce successful content , with 750K+ views for her writing tutorials. She is the author of 9 books. See more of Kathy’s content here.
Updated 2.3.26
“Finally.” That’s what I said to myself when I created this self-publishing checklist. I was getting ready to release my fourth self-published book on Amazon, so this wasn’t the first time I was preparing to send out one of my babies into the world through the virtual bookselling giant.
But books aren’t my only writing product. I produce plenty of other types of writing. Other more prolific authors churn out self-published books a few times a year, but for me, it’s one book every year or two.
The infrequency means each time I reach the publication phase, it’s as if I need to reinvent the wheel. I end up wasting plenty of time re-learning the steps for self-publishing a book. Hence the need for a self-publishing checklist.
Why I need a self-publishing checklist
Furthermore, I make the same mistake every time I get ready to publish a new book: I perpetually underestimate the amount of time I need to prepare it to be presentable to my readers. I’ve finished the hard part, I reason — my manuscript. And the steps to self-publication are fairly easy. But the process takes a bit of time and planning, which I tend to forget in the afterglow of releasing each new book.
The first time I self-published, I pieced together the process by gathering tips from the experiences of other successful authors. Plenty of expert marketers told me that you can launch your self-published book successfully on Amazon. They are right. The experience was excellent. So when the second self-published book was in manuscript form, I assumed the process would be simple once again.
Which is all well and good, except that my resources were scattered in my notes on my desktop and in highlighted sections in several books on my tablet. I was anxious to get the book published. So I didn’t stop to compile my notes but flipped and clicked back and forth to get the job done.
By the fourth time around, I realized I wasn’t doing myself any favors. I searched for a self-publishing checklist I could download to streamline the process. Surprise — there wasn’t one.
Use a self-publishing checklist (with tips from expert marketers)
There are plenty of steps for self-publishing a book, yet they’re not hard even if you’re not technically minded (proof: I’ve self-published several times, and I don’t like tech). To be truthful, you can skip many of these steps and still release your masterpiece to the world.
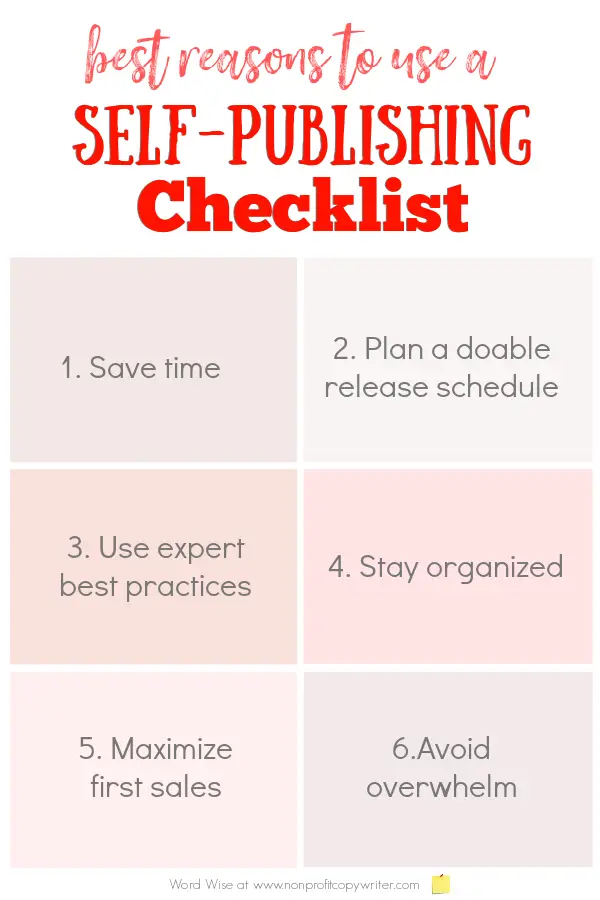
Yet Amazon is a big place. And I want to get my book into as many readers’ hands as possible. I’m sure you feel the same about your masterpiece. If you use a self-publishing checklist you can get started in the strongest way possible without overwhelming you.
I use the following steps for self-publishing a book on Amazon as a guide for tasks I need to accomplish for a winning release. You can take these steps in any order you choose, although some are more logical to complete before attempting others. For example, you should proofread your book and add front and back matter before you share it with first readers.
21-point self-publishing checklist for a winning release on Amazon
1. Polish the manuscript
Yep, you’ve got to hone and tweak until it sparkles. Be sure to …
- Proofread the manuscript
- Finalize the book title and subtitle
- Format the chapter headings
- Add hyperlinks so your manuscript is online-ready (particularly if you’re publishing on Kindle)
- Proofread your manuscript again. And again.
2. Create a professional cover
While you’re finishing up your nitty-gritty self-editing details, prepare your book cover. This is not a place to skimp. Even though you admonish your kids not to “judge a book by its cover,” nevertheless, Amazon readers do just that. Your cover needs to be professional and appealing.
For most of us, that means hiring a designer. You can do so for minimal cost. I’ve used Go On Write book cover designs with great success. They offer both pre-made and custom designs.
3. Write the back cover copy
When you send your book cover specifications to the designer, include the back cover copy. This way the designer can create both front and back mockups, which you can use for both eBook and print-on-demand versions (saving you a trip back to the designer.)
Four pieces of content grace the back cover of a book: the tagline (the snippet that captures your reader’s attention), the book summary (not a synopsis, but content that shows the reader what your book will do for her), your author bio (which shows the reader why you are THE person to write this book), and book reviews or testimonials (which shows the reader how others have been changed by your book and why they will be too.) You can see why the back cover is a special piece of sales copy that you don’t want to just dash off, but rather dedicate time and thought in creating it.
4. Create front matter
A book’s front matter introduces what’s to come to the reader, giving her the information she needs to know to get the most out of the book. It is everything between the cover and page one: title page, copyright page, testimonials, dedication, epigraph, list of figures, forward, preface, acknowledgments, introduction, and table of contents. You can include as many items as necessary (and eliminate those that your book doesn’t need) to help create a good reader experience.
5. Create back matter
While the front matter of your book provides the reader with the information she needs to delve into your content, the back matter gives you a chance to follow up. Here’s where you can thank those who helped you write the book. You can offer the reader a chance to dig deeper with additional information, suggestions for further reading, references, and resources. Publishing guides list anywhere from 15–25 elements that appear in the back matter. Set aside time to choose which ones are right for your book … and time to write them.
6. Give your manuscript to proofreaders
Every time I write a book, I’m surprised at the number of typos that my proofreaders find — even after I’ve reviewed the manuscript carefully and multiple times. That’s why proofreaders are invaluable people to have on your corner when you’re self-publishing a book.
- Ask two to five detail-oriented people to read your manuscript. Or hire a professional proofreader.
- Provide your proofreaders with a hard copy or a computer file — whichever they prefer.
- Specify your editing expectations for content editing (asking them to check that your ideas are presented clearly, with continuity, logic, and sound reasoning) and copyediting (asking them to check for grammar mistakes, spelling errors, typos, missing words, repetition, awkward sentences, passive voice, subject-verb disagreement, misplaced modifiers, homonyms, verb tenses, and split infinitives.)
- If your proofreaders use a hard copy, ask them to make notes in red ink. If they read your manuscript on the computer, ask them to use Track Changes.
- Give your proofreaders a date by which you’d like to get their edits so you can stay on schedule for your book release.
- Recognize your proofreaders in your book’s acknowledgments.
7. Make edits
Go through your proofreaders’ comments carefully and make the appropriate changes to the manuscript so it is pristine. Add your front and back matter to your file.
8. Format the manuscript
In a traditional publishing scenario, the publisher takes responsibility for the layout and formatting of your book (as well as other design elements, like the cover and back cover.) By self-publishing a book, you take on that task. Fortunately, you’ve got plenty of options to help you do so.
I use Vellum, book-layout software for Mac, to format my books. It’s got an easy-to-use interface — important for me, because I don’t want to have to struggle with tech. But I like Vellum’s professional book styles even better. Using Vellum, you can take your Word doc and turn it into files you need to publish your eBook on Amazon Kindle (and other eBook retailers), and you can use Vellum to create files for a print version of your book, as well.
9. Load your book into a delivery system
Your book is beautifully formatted in Vellum. You’ve added the cover, front matter, and back matter. The hyperlinks are live. Now you need to load it into a delivery system so that your advance readers can preview what purchasers will get.
I use BookFunnel to do so. It’s an inexpensive but reliable digital delivery system that puts your completed manuscript into readers' hands using the format they prefer, whether it’s Kindle, Apple Books, Kobo, Nook, PDF, or print.
10. Assemble a book launch team
While you’re waiting for your proofreaders to complete their edits, assemble a launch team of first readers. These are folks who will read your advance copy and be ready to post a review on Amazon as soon as your book is released.
Why is this step part of this self-publishing checklist? Because book reviews are gold in a winning Amazon book release. When you hit “publish” with reviews in your back pocket, you can build your book’s credibility right from Day 1.
- Have your book formatted and prepared at least four to six weeks before it is released so your ARCs (Advance Reader Copies) are ready to go.
- Use a spreadsheet to keep track of potential reviewers and their email addresses. Try to recruit at least 50 — preferably 100 — advance readers. You want to gather as many reviews as possible.
- Message each reader individually. Explain that you’ve written a book, give a one-sentence summary of your baby, and ask them if they’d be willing to read it and write an honest review within 24 hours of its publication. Record their responses. You may be surprised at the number who agree to help you. People like to be asked for their opinions.
- Tell readers the book launch date.
- Once you’ve made changes from your proofreaders and have loaded the final copy in BookFunnel (or another digital delivery system), send a link to each of your launch team members. Record the date you send the book link in your spreadsheet.
11. Include your subscribers and followers in the launch
- Send your email subscribers the announcement of your upcoming book several times before its release
- Announce your upcoming book release several times on your social media platforms.
- Include your book cover in your announcements.
12. Send a reminder to advance readers
Send an email to your launch team a week before your book’s release, reminding them that publication is coming up. You’ll prompt readers to finish reading — or in some cases, move them to get started so they can post a review as soon as possible.
13. Choose categories for your book
Meanwhile, as your advance readers are absorbing all the goodness that your book offers and drafting dozens of 5-star ratings, get ready to load your masterpiece. Amazon allows you to list your eBook in three categories, which act much like sections in a physical bookstore: health, self-help, politics, science fiction, romance, children’s books, YA, history, and so on. And there are hundreds of categories to choose from.
Choosing your book’s Amazon categories is not a decision to take lightly. Set aside some time to research categories as you take this important step in our self-publishing checklist. Study your book’s competition and note the categories on which they’re listed.
“The Amazon book categories you choose will have a direct effect on whether or not you become an Amazon bestselling author,” says Dave Chesson at Kindlepreneur. “There are secret Kindle categories that Amazon doesn’t tell you about when publishing, and the simple fact that you can only have 3 Amazon Book categories and eBook categories legitimately, makes it all the more important to choose carefully.” Dave offers regularly updated tips about Amazon’s categories and how to choose the best ones for your book.
14. Create (or update) an Amazon Author page
If you don’t have an Amazon Author page, create one. And if you plan to sell your book in digital format, create account in Kindle Direct Publishing (KDP).
15. Load your book
- Choose a price for your book. Compare prices to your closest competition and choose accordingly. And don’t stress … Amazon is fluid. You can adjust your price later.
- Load your book files (from Vellum or another formatting provider) onto your account bookshelf. The interface takes you through the prompts to follow, including categories and book summary.
- Publish your masterpiece!
One question that’s asked often: do you need to apply for an ISBN (International Standard Book Number)? That’s the 13-digit unique number that identifies a published book. If you publish on Kindle, Amazon provides that number for you for free.
Be ready to wait a bit before you see your book in all its glory, ready for purchase. After you’ve submitted your book for publication, it can take 3 to 10 business days for your book to be live on Amazon. You can check back regularly for its status. And Amazon sends you a notification to tell you when your book is available online.
When it’s live, then grab that link and get ready to share it with the world.
16. Send an email to your launch team when the book is live
- First, send an email to your advance readers to announce that your book is live and ready for their reviews. And of course, include the link to your book’s page. Ask your readers to post their reviews as soon as possible.
- Encourage readers to share your link on their social media accounts.
- Explain to readers that Amazon may publish their review immediately or may take a day or two to post it.
- Message your thanks to readers who post reviews.
17. Create and post promos on your media
- Announce your book release to your email subscribers and your social media followers.
- Create memes with quotes from your book to pull in more readers. Post them on all your accounts.
- Pull out testimonials from your advance readers’ reviews and post them with a link to your book.
18. Promote your book to free sites
Kindle Direct Publishing allows you to offer your book for free for five days per quarter. If you’re publishing digitally, take advantage of this opportunity. And before you push back at the idea of offering your book for free, consider this: rankings are key on Amazon. The more sales (i.e., downloads) you make, the higher your book’s rankings. You want to get as many people downloading your book as possible during the first several days following publication. Free books mean more readers which gives your book more exposure and more sales momentum.
Once you’ve scheduled your free promotion, submit your free book to eBook newsletters through a service like KDROI.
Top tip for this strategy: offer your book for free only for a few days. Then, let your book revert to the sales price you’ve chosen. The short-term freebie builds urgency in potential readers — and builds numbers of readers.
19. Take screenshots of your rankings
Keep a close eye on your book’s rankings in its categories during the first few days and weeks it is online. When your book reaches a Top Twenty status, grab a quick screenshot. Use it to create a graphic to promote your book further.
20. Send an email reminder to subscribers and advance readers
- About 5–7 days after your book goes live, send an email to your subscribers and to your advance readers. Thank them for their support. If appropriate, include your screenshot.
- Remind lingering advance readers to post their reviews if they have not already done so.
- Be sure to tell subscribers that your book is free for a limited time only. Give them the dates.
- Again, track your rankings.
21. Update your book and your Amazon entry with reviews
- As you gather glowing reviews, add them to your book’s front matter and even the back cover.
- Update your manuscript in Vellum with these reviews.
- Reload your updated book to your Amazon Bookshelf once again.
- Continue to update your manuscript accordingly over time as reviews accumulate.
- Pull out a few pithy review quotes to add to your book description on your Amazon page.
Other self-publishing checklist tips
- Use a headshot. Include the photo on the back cover of your book and your Amazon Author page.
- Update your website. Add information about your new book to your website or blog.
- Offer a free chapter or excerpt. Entice new readers by offering a free excerpt from your book as an opt-in. Create a pop-up on your website to present the offer. Use your email list manager to deliver the goods. A free chapter or two shows readers what to expect from your book and motivates them to buy it. Plus, your free offer helps you add more subscribers to your email list.
A self-publishing checklist makes your launch easier
My self-published books have not made me rich. However, each one ended up on a Top Twenty list during its launch. And they’ve provided a steady income stream month after month.
Plus, now that I’ve got my self-publishing checklist in hand, each launch is easier. You can have that same confidence, too. And you won’t need to struggle with the process when you self-publish your book. I already did that for you.
More tips to include in your self-publishing checklist
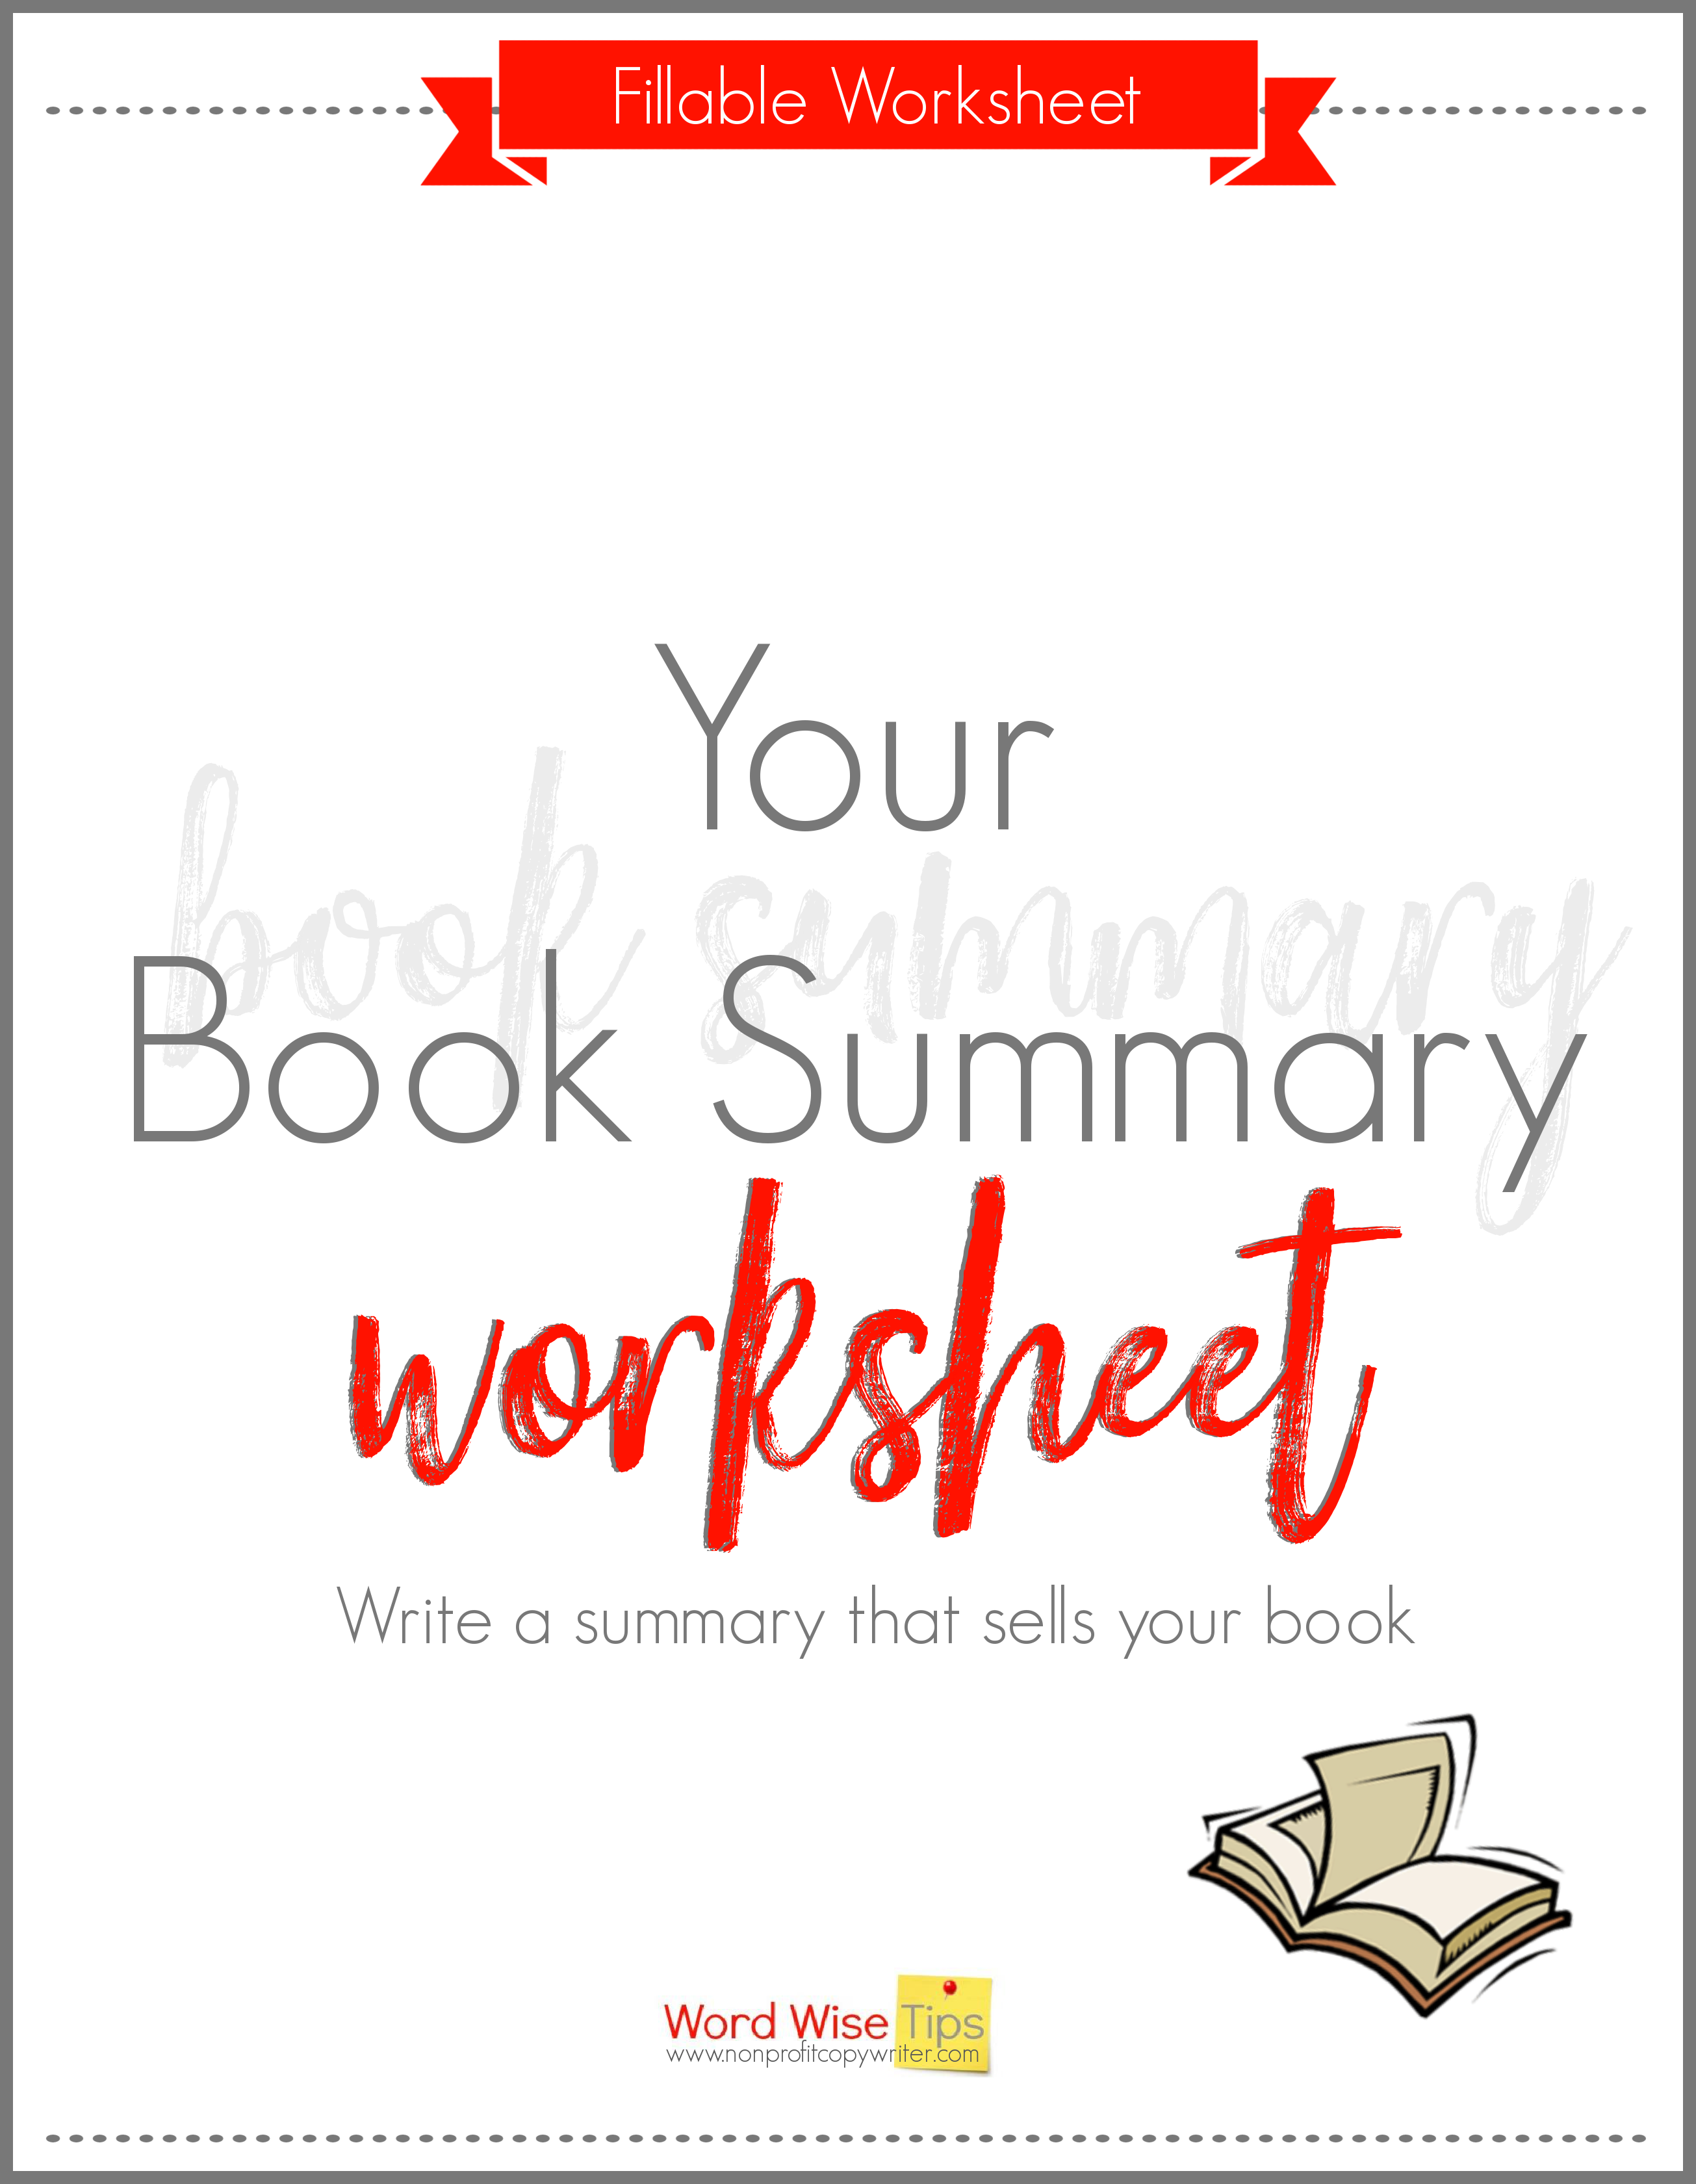
Use a Book Summary Worksheet to Write a Summary that Sells ...
3 Things I Wish I’d Learned Before Writing My First Book ...
How to Use a Personalized Book Writing Plan to Get Your Book Done ...
The Back Matter of a Book: What to Write After You Write “The End..."
What Goes on the Back Cover of a Book?
Need to Write a Title for Your Book? Try This...
E-Books Versus Print Books: Which Do Readers Prefer?
See more tips for Writing a Book on my Pinterest board...
Return from 21-Point Self-Publishing Checklist to Nonprofit Copywriter home
As an Amazon Associate I earn from qualifying purchases.
Share This Page

Named to 2022 Writer's Digest list
BEST GENRE/NICHE WRITING WEBSITE

Stop Wasting Time!
Grab your exclusive FREE guide, "5 Simple Writing Tips You Can Put to Use in 10 Minutes or Less"
