Save Time: Get 5 Simple Writing Tips
you can put to use in 10 minutes
Create A Chapter Outline For Writing A Book Using This Template
Award-winning writer Kathy Widenhouse has helped hundreds of nonprofits and writers produce successful content , with 750K+ views for her writing tutorials. She is the author of 9 books. See more of Kathy’s content here.
Updated 2.3.26
I use this simple template to create an outline for writing a book (non-fiction, that is.)
A template removes the overwhelm that comes with a project, especially a big one. And a book is a big project – one that can be so intimidating that once get started, you can easily hit a wall.
Here’s how this outline template works. Let’s say you have brainstormed ideas for your book, sorted them, and placed them in “buckets” for each chapter. (Use this simple method to get started with that.)
The average non-fiction book is 12 chapters long. The average chapter in a non-fiction book is 2,000 words – the same length as a longish article or blog post. So if you write the equivalent of 12 longish blog posts, you’ve got a book.
So once you have 8-12 or so “buckets” of content, you’ve got a big-picture framework for your book.
Now it’s time to get down to the nitty-gritty.
Why You Need to Create an Outline for Writing a Book
The next step is to organize the content inside each chapter. Once you have that in place, then you’ll write your book one chapter at a time.
In fact, if you submit a book proposal to a traditional publisher, the editor expects a chapter-by-chapter synopsis as part of your submission package.
So your chapter writing outline is not just a tool for you to use as you write, but it’s also an important element in the book marketing process.
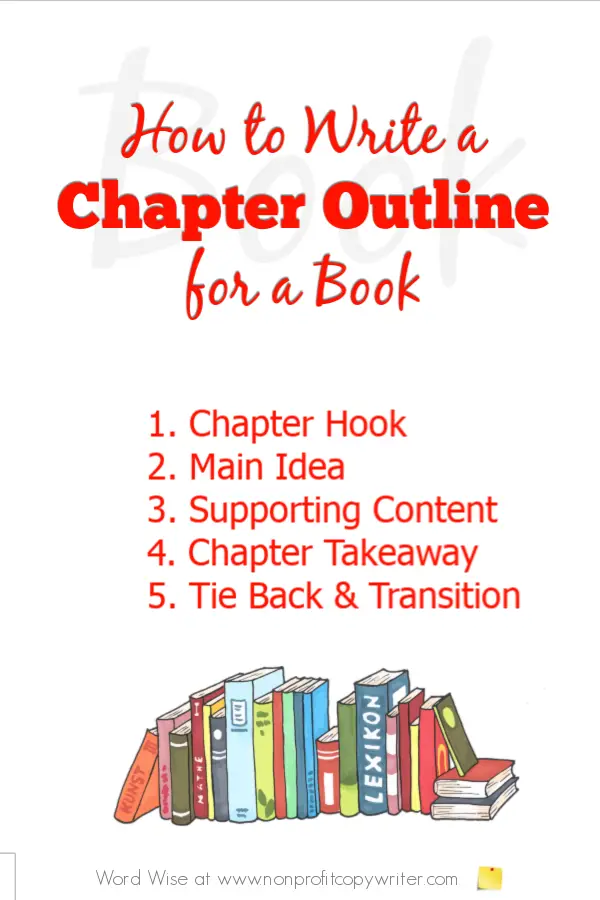
An outline for writing a book gives you a starting point by offering a ready-made structure. Each chapter has a hook followed by a main point, material that supports that point, and a takeaway that transitions the reader into the next chapter.
Use the material you gathered into your chapter “buckets” to fill in the outline. You can record each of these outline elements in bullet points or in paragraph form – whichever is easiest for you.
Once you put together your outline draft, you may discover that some chapters lack one or more of the five pieces of your outline. That is useful information to know. It shows you what material to flesh out in your research to allow you to create a complete outline.
And keep in mind that your outline isn’t a final product. As you write your book you will decide that some pieces you placed in one chapter are better suited in others. Or you may come up with a more enticing hook for one chapter or a more practical takeaway for another.
Your outline gives you a starting point to jumpstart writing your book, but it is a fluid document.
Here are the five elements you need to create an outline for each of your book’s chapters. (You can download your own copy of this template, too.)
Create an Outline for a Book in 5 Easy Steps
Step 1: Chapter Hook
Your chapter, most likely, won’t open with your thesis statement. Instead, you’ll open each chapter with a hook. Your chapter hook grabs your reader’s interest and reels her into the chapter. Beyond that, the hook sets up the chapter.
And since you want your outline to be as true to your chapter format as possible, record the kind of hook you will use for the chapter, whether it’s a summary hook (one that summarizes the main point of the chapter) or a creative hook (one that captures the reader’s attention, such as a provocative quote, a funny anecdote, an intriguing fact, a common misconception, a problem or mystery to be solved, an inspiring promise, a surprising statistic, a comparison, contrast, conflict, a zinger or punch statement.)
You needn’t write out the hook in your outline. You simply want to make note of it so you’re set to write once your outline is completed. And you can change your chapter hook as you start writing your book. (Here’s a quick tutorial about how to write a hook.)
Step 2: Main Point
Next, write out the chapter’s thesis statement. Don’t be fooled into thinking the term “thesis statement” is for academic papers only. A thesis statement is the main point of the chapter.
Your thesis statement accomplishes two things. First, it presents information. In addition, a thesis statement persuades, convinces, sways, leads, influences, motivates, advocates a viewpoint, or otherwise wins over the reader. Your thesis statement presents your position and explains what you’ll discuss in the chapter.
It’s a good idea to write out your complete thesis statement in your outline. Editors want to see it as they review your book proposal. And your thesis statement acts as a summary for your chapter content. You can refer to it as you write the chapter to keep you on track.
(This step-by-step guide helps you write your chapter thesis statements.)
Step 3: Supporting Content
Your supporting content makes the case for your chapter thesis statement.
This is the guts of your chapter. Some writers say that the hook and main idea make up about 15% of a chapter and the takeaway/callback/transition are just 5%. That leaves you with 80% of the middle of the chapter to fill up with supporting content.
Your supporting content provides a point-by-point argument for your thesis statement.
You needn’t write out a complete explanation for each point in your outline. Instead, this is a good place to create a bulleted list or short phrases that you can write out in full later. Here’s how to outline the points you want to make:
- Choose your points. List them and how or why each one supports your main idea.
- Identify how you will make each point. Include whether each point is a fact, statistic, a testimonial, quote, anecdote, narrative, or example.
- Arrange your points in order. You may choose the inverted pyramid approach, placing the strongest point at the beginning. Or you can structure your points build upon each other in a cumulative effect. In some chapters your points may be modular, meaning each can stand alone. Here are 6 different formats you can use to organize the points you want to make. You can use different formats for different chapters, depending upon what kind of content you have.
Use this template to create an outline for each chapter of your book.
Step 4: Chapter Takeaway
Now that you’ve made your point and provided supporting content, explain how the reader can apply it. The chapter takeaway gives the reader something can “take away” with her and apply to her life, whether it is an action step, an explanation, or a deeper understanding of the chapter principle.
Write out the chapter takeaway in a full sentence in your outline. If you're stuck, these Templates for Takeaways may help.
Step 5: Tie Back and Transition
A “tie back” is a reference to the book’s opening hook. Mention the story, statistic, or fact from the opening and tie it to the chapter takeaway. The tie back technique allows you to bookend the introduction and conclusion of the chapter with a tidy capstone. You needn’t include a tie back in each chapter, but use it when you can to frame the chapter and complete it.
Then in your outline, make note of how you will transition to the next chapter. That is, how does this chapter’s main point lead to the next one?
Now That Your Chapter Outline Is Done …
Download a copy of the chapter outline template here and use it to organize your chapter content.
Now that you’ve got an outline for writing a book, what’s next?
Use your outline to write a chapter. Then another. And another. (This simple book writing plan can help.)
Soon, your book will be finished.
More Book Writing Tips
How to Use a Personalized Book Writing Plan to Get Your Book Done ...
3 Things I Wish I’d Learned Before Writing My First Book ...
5 Places to Find Book Ideas ...
Writing a Book Outline: It's Easier Than You Think ...
How To Get Started Writing a Book With a Brain Dump ...
Write an Article or Write a Book? Here’s How to Decide ...
Tips on Writing a Book (Before You Get Started Writing) ...
Why You Should Write an eBook: 5 Reasons to Consider It ...
Book Writing Help: Write a Book Outline and Chapter Plan ...
Getting Started Writing a Book: Tips to Get Going ...
Writing eBooks: Frequently Asked Questions ...
See more tips for Writing a Book on my Pinterest board...
Return from Create a Chapter Outline for Writing a Book to
Nonprofit Copywriter home
As an Amazon Associate I earn from qualifying purchases.
Share This Page

Named to 2022 Writer's Digest list
BEST GENRE/NICHE WRITING WEBSITE


Stop Wasting Time!
Grab your exclusive FREE guide, "5 Simple Writing Tips You Can Put to Use in 10 Minutes or Less"


